Want to know more about How To Apply Press On Nails With Adhesive Tabs? Read this article to get the information you need.
Press-on Nails: A Chic and Effortless Alternative to Acrylics
As a seasoned nail enthusiast, I’ve tried my fair share of nail enhancements, from elaborate acrylics to gel manicures. While these techniques offer stunning results, they often come with drawbacks like high cost, time-consuming application, and potential damage to natural nails. That’s why I recently discovered the beauty of press-on nails with adhesive tabs, a game-changer for achieving a salon-like manicure in the comfort of my own home.
Press-on Nails: The Perfect Solution for Nail Art Lovers
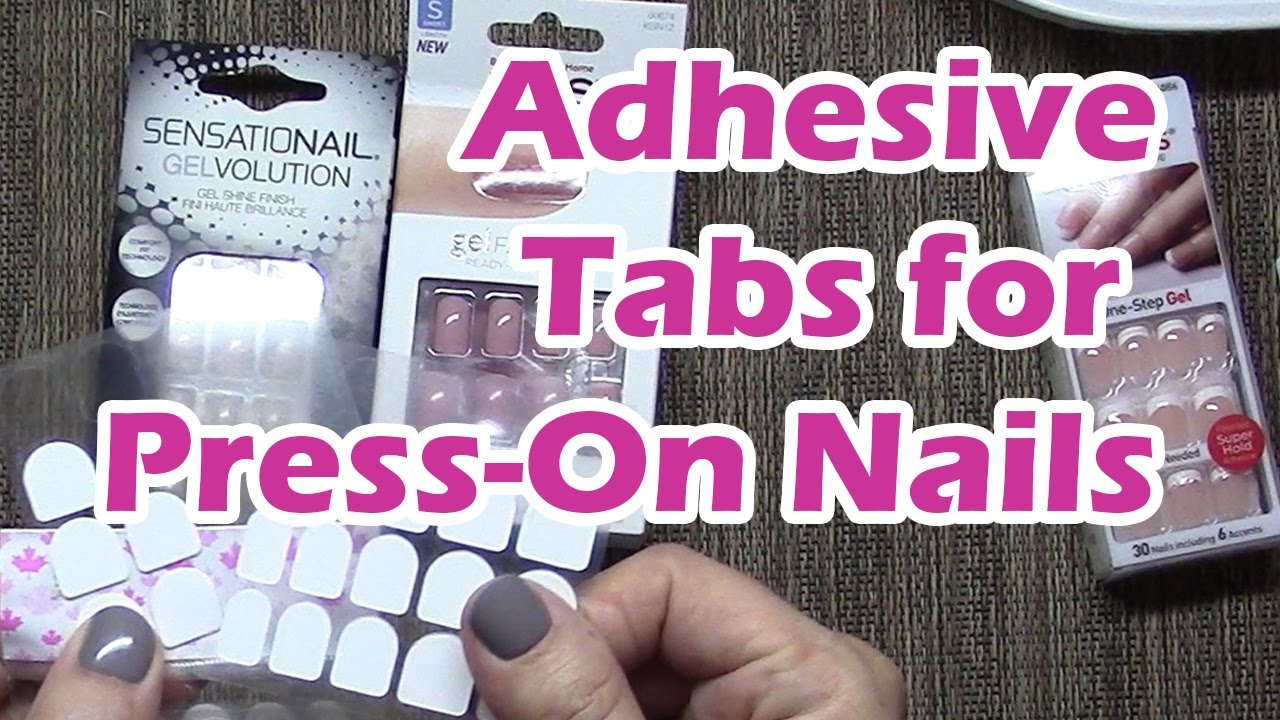
Press-on nails, made from durable plastic or gel, are pre-designed with various colors, patterns, and finishes. They come in a range of shapes and sizes, allowing you to find the perfect fit for your nail beds. Adhesive tabs, included with most press-on nail sets, provide a secure yet temporary bond that lasts for days or even weeks.
A Comprehensive Guide to Applying Press-on Nails with Adhesive Tabs
Applying press-on nails is a simple and straightforward process that yields impressive results. Here’s a step-by-step guide:
1. Prepare Your Nails:
- Gently push back cuticles using an orangewood stick.
- Lightly buff the surface of your nails to remove any oils or residue.
- Clean your nails with rubbing alcohol or acetone to ensure proper adhesion.
2. Select the Right Adhesive Tab:
- Choose an adhesive tab that is slightly smaller than the base of your press-on nail.
- Remove the backing from the tab and stick it to the underside of the press-on nail.
3. Apply the Press-on Nail:
- Align the press-on nail on your natural nail and press down firmly.
- Hold for a few seconds to ensure a secure bond.
- Repeat the process for all your nails.
4. Trim and Shape:
- Once all the press-on nails are applied, trim and shape them to your desired length and shape using a nail file.
- Gently buff the edges for a seamless transition between your natural and press-on nails.
The Latest Trends in Press-on Nails
The world of press-on nails is constantly evolving, with new designs, finishes, and application techniques emerging every season. Here are some of the latest trends:
- Gel Press-on Nails: Made from a flexible gel material, these press-on nails offer a more natural and durable look than traditional plastic nails.
- Metallic Press-on Nails: Adding a touch of glamour, metallic press-on nails come in various finishes, from gold to silver to iridescent.
- Rhinestone Press-on Nails: Embellished with sparkling rhinestones, these press-on nails elevate any outfit and make a statement.
Tips and Expert Advice for Applying Press-on Nails
Based on my experience and research, here are some tips and expert advice for enhancing your press-on nail application:
- Cleanse Your Nails Thoroughly: Proper nail preparation is crucial for long-lasting adhesion. Remove all dirt, oils, and moisture from your nails before applying the tabs.
- Use a Thin Layer of Adhesive: Applying too much adhesive can cause your press-on nails to slide around or become bulky. Use a thin, even layer of adhesive for a secure hold without excess residue.
- Press Down Firmly: When applying the press-on nails, press down firmly and evenly for 10-15 seconds to ensure a strong bond.
- Avoid Contact with Water Immediately: Keep your hands dry for at least 30 minutes after applying press-on nails to allow the adhesive to set properly.
Frequently Asked Questions about Press-on Nails
1. How long do press-on nails with adhesive tabs last?
With proper preparation and application, press-on nails with adhesive tabs can last up to two weeks.
2. Can I reuse press-on nails?
Yes, you can reuse press-on nails multiple times. Simply remove them by gently soaking in warm water for 10-15 minutes, then peel off any remaining adhesive.
3. How do I prevent press-on nails from lifting?
Make sure to thoroughly clean your nails and press-on nails before application. Use a thin layer of adhesive and press down firmly for several seconds. Avoid exposure to water or harsh chemicals.
Conclusion
Press-on nails with adhesive tabs offer a convenient, cost-effective, and stylish alternative to traditional nail enhancements. With a wide range of designs, shapes, and finishes available, you can achieve a salon-quality manicure at home in just minutes.
Are you a fan of press-on nails? Share your experiences and tips in the comments below!
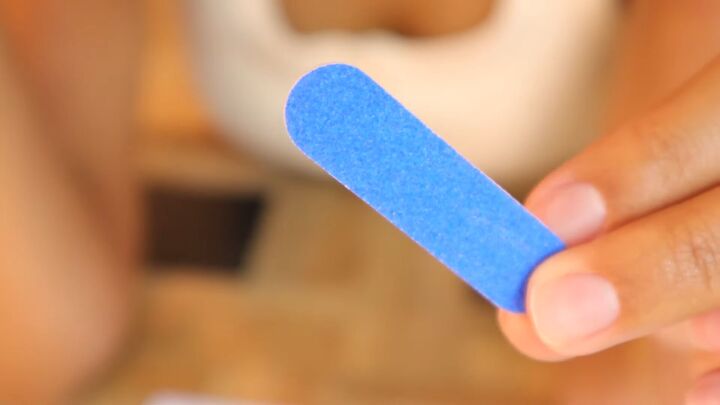
Image: www.upstyledaily.com
Thank you for reading How To Apply Press On Nails With Adhesive Tabs on our site. We appreciate your visit, and we hope you benefit from How To Apply Press On Nails With Adhesive Tabs.