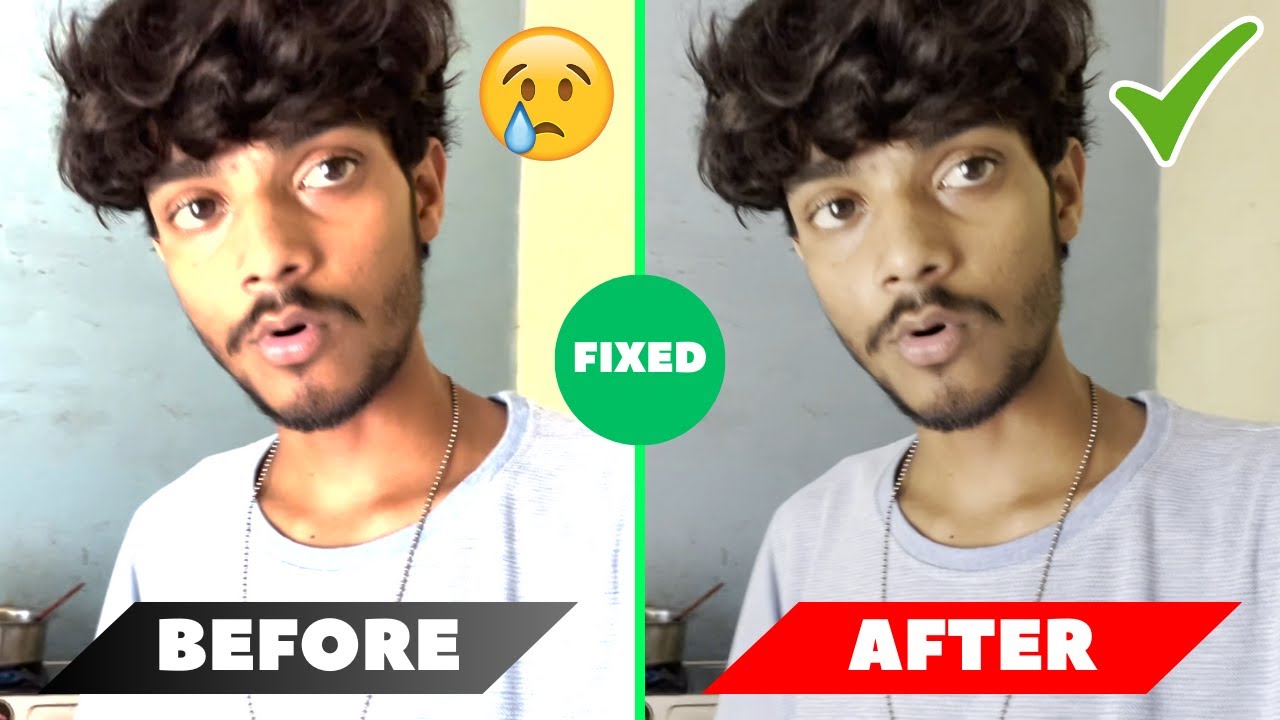
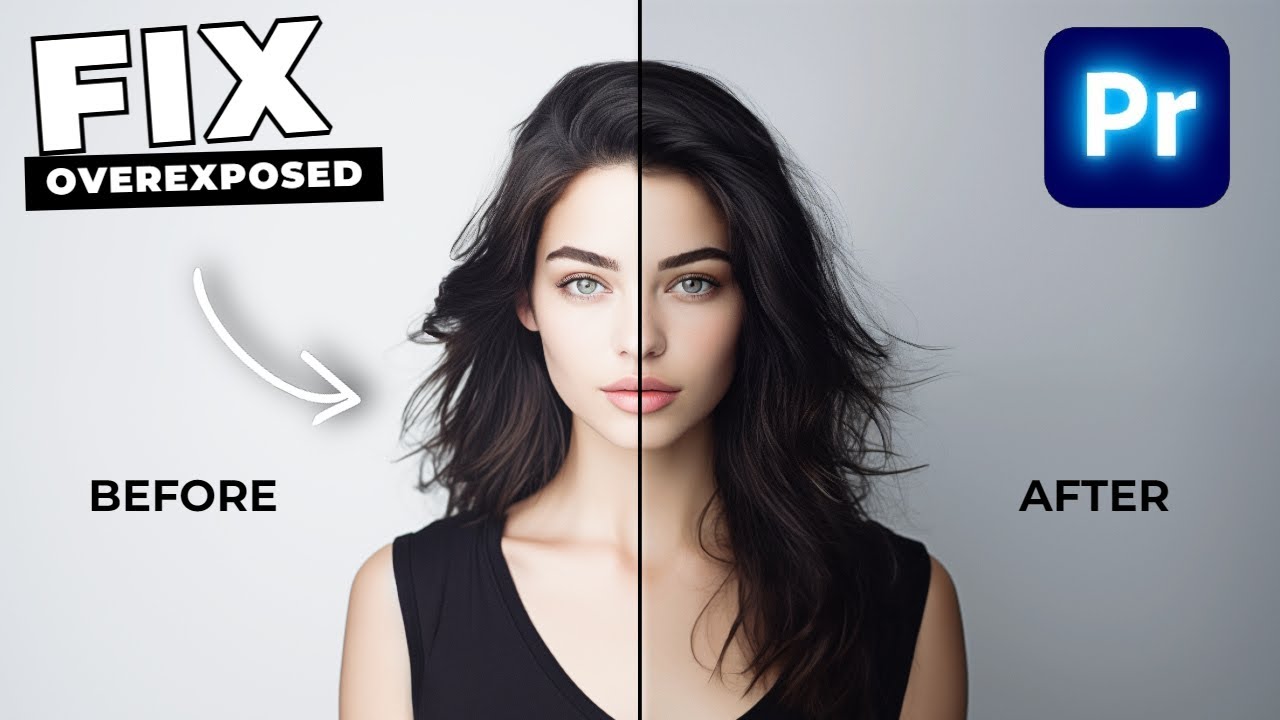
If you’ve ever recorded a video that seemed too bright or washed out, chances are you’ve dealt with overexposure. It occurs when the camera sensor receives too much light, resulting in loss of detail and a lack of contrast. While overexposure can be frustrating, it’s not the end of your video. With Premiere Pro, you can employ several effective techniques to correct it.

Image: www.youtube.com
Understanding Overexposure and Its Causes
Overexposure is essentially the opposite of underexposure, where too little light reaches the sensor. It happens when the aperture (iris) is too wide, the shutter speed is too slow, or the ISO is set too high. To avoid overexposure, make sure your camera settings are adjusted appropriately for the lighting conditions.
Correcting Overexposed Video in Premiere Pro
Premiere Pro offers a range of tools specifically designed to address overexposure. Here are the most commonly used methods:
1. Exposure Adjustment
The most straightforward method is to simply adjust the exposure. Go to “Color Correction” in the Effects Panel, select “Exposure,” and drag the slider to the left to darken the footage.

Image: www.youtube.com
2. Lumetri Color Panel
The Lumetri Color Panel provides more precise control over exposure. Under the “Basic Correction” tab, adjust the “Exposure” slider as needed. You can also refine the correction by adjusting the “Contrast,” “Highlights,” and “Whites” sliders.
3. Curves Adjustment
The Curves adjustment allows for fine-tuning the video’s exposure by adding points to the graph. Drag the points on the lower part of the curve upwards to recover shadow details, while dragging the points on the upper part downwards to reduce overexposure.
4. Selective Color Correction
If only specific colors in the video are overexposed, such as skin tones or highlights, use the “Selective Color Correction” tool. Under the “Color Wheels” tab, adjust the “Saturation” sliders for the affected colors to reduce their intensity.
How To Fix Overexposed Video In Premiere Pro
Additional Tips for Fixing Overexposed Video
- Use HDR Footage: If possible, shoot in HDR (High Dynamic Range) mode to capture a wider range of exposures. This gives you more flexibility when correcting the footage later on.
- Reduce Overall Brightness: If the entire video is too bright, use the “Brightness” slider in the Color Correction tool to reduce it.
- Brighten Shadows: To recover lost shadow details, use the “Shadows” slider in the Lumetri Color Panel.
- Add a Gradient Map: A gradient map can help balance the exposure and add depth. Create a new adjustment layer, select “Gradient Map,” and adjust the colors and opacity to your liking.
- Use a Sharpening Filter: Overexposed areas often appear blurry due to loss of contrast. Applying a sharpening filter can help recover some of the lost detail.
By experimenting with these techniques, you can effectively fix overexposed video in Premiere Pro and restore its original quality.