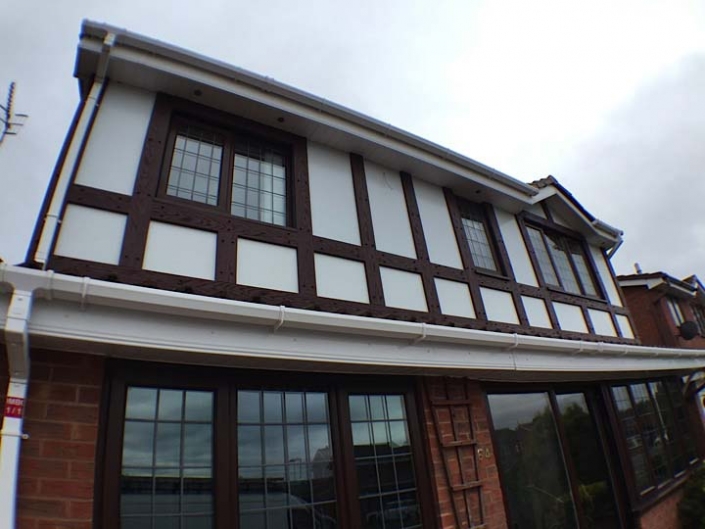
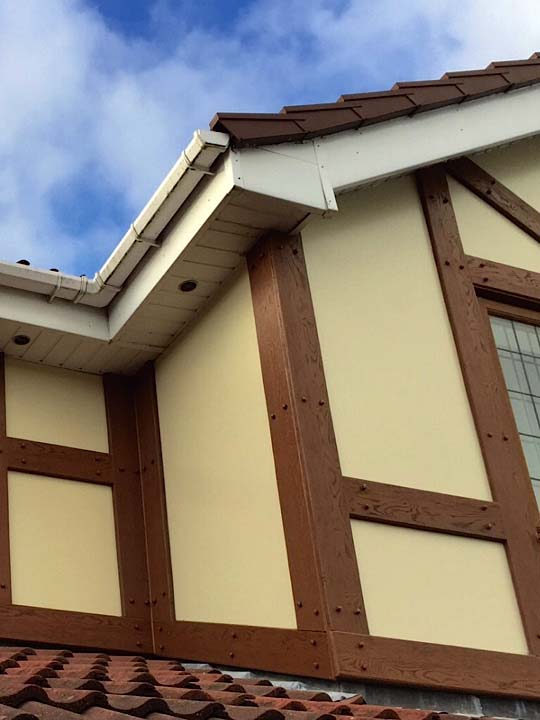
Are your Mock Tudor boards looking tired and lackluster? With age and exposure to the elements, these decorative accents can eventually deteriorate, losing their original charm. But don’t worry, restoration is possible! In this comprehensive guide, we’ll delve into how to fix mock Tudor boards, restoring their beauty and character.

Image: hometrimuk.com
What are Mock Tudor Boards?
Mock Tudor boards are decorative architectural elements that mimic the intricate timber framing of traditional Tudor-style homes. Typically made of hardwood, they are cut and shaped to resemble the exposed beams and studs of a half-timbered house. Mock Tudor boards add depth and visual interest to exterior walls, creating a rustic and timeless appearance.
Assessing the Damage
Before embarking on repairs, it’s crucial to assess the extent of the damage. Check for signs of rot, decay, or severe warping. If any of these issues are present, it’s best to consult a professional for expert advice on replacement or restoration options. However, many common repair issues can be tackled with the right tools and techniques.
Tools and Materials
- Screwdriver
- Hammer
- Nail punch
- Wood filler
- Sandpaper
- Caulk gun
- Exterior paint or stain

Image: hometrimuk.com
Step-by-Step Guide
1. Remove Damaged Boards
First, identify the damaged boards and carefully remove them using a screwdriver. Note the placement and orientation of the boards for easier reinstallation. If the nails are difficult to remove, use a nail punch to gently tap them out.
2. Repair Rotted Ends
If the ends of the boards are decayed, cut off the damaged portions using a saw. Measure and cut new pieces of matching hardwood to replace the rotted sections. Use wood filler to smooth any rough edges and sand the repairs level.
3. Reset Boards
Once repaired, reset the boards in their original positions. Secure them with galvanized nails, countersinking the nail heads slightly below the surface. Hammer in the nails at an angle for added strength.
4. Fix Loose Joints
Caulk any gaps between the boards for a weather-resistant seal. Apply the caulk sparingly and smooth it with a damp rag. For more severe gaps, you may need to use wood filler and sand the area smooth after it dries.
5. Paint or Stain
To protect the repaired boards and enhance their appearance, apply a coat of exterior paint or stain. Choose a color that complements the existing finish or creates a new look. Use a paintbrush or roller to apply the coating evenly, and allow it to dry completely.
Expert Tips and Advice
Tip 1: Use Exterior Sealant
Apply an exterior sealant to protect the restored boards from moisture and weathering. This will extend their lifespan and maintain their beauty.
Tip 2: Regular Maintenance
Regularly inspect and touch up your mock Tudor boards to prevent future damage. Look for signs of wear or deterioration and address them promptly.
FAQ
Q: How can I tell if a Mock Tudor board is rotten?
A: Check for softness, discoloration, or crumbling. Use a screwdriver to gently probe the board. A rotten board will easily penetrate.
Q: What type of paint or stain should I use for Mock Tudor boards?
A: Use exterior-grade acrylic latex paint or a penetrating oil-based stain designed for wood. Choose a color that complements the existing finish or creates a new look.
How To Fix Mock Tudor Boards
Conclusion
By following these steps, you can restore the beauty and character of your Mock Tudor boards, enhancing the curb appeal of your home. Remember, with proper care and maintenance, these decorative accents can continue to lend a touch of Tudor charm for years to come. Are you interested in learning more about fixing or maintaining Mock Tudor boards?